Forwarding to an Answering Service: When forwarding calls to an answering service, you will want to disable call announce and change the incoming caller ID to show the caller's number. This guide includes adding a forwarding number, changing the incoming caller ID, and disabling call announce. Please follow the steps below:
This guide is broken down into parts and covers the following:Part 1:
|
Part 1 - Forwarding Phone Number Settings |
|
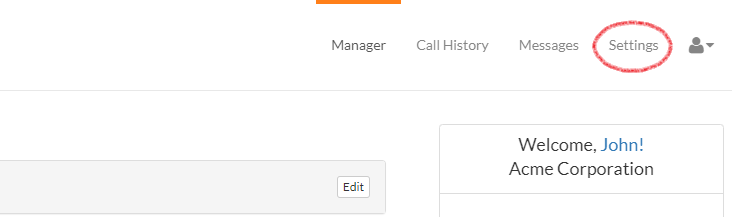
1. Login to your Talkroute account and navigate to the Settings section.
|
|
2. Select the Forwarding Phones Numbers tab. Under the Add a Forwarding Phone Number area, enter the desired phone number and provide a description. Once you have entered this information, click "Add". |
|
3. Your new Forwarding Phone Number has now been added. |
|
4. Find the Forwarding Phone Number you wish to change the Call Announce feature for then click "edit". |
|
5. Under "Enable Call Announce & Talkroute Voicemail" you can disable the feature by unchecking the box. Click "Save & Close" once you have made the desired change. |
|
Note: Adding a Forwarding Phone Number does not automatically select it for forwarding. |
Part 2 - Adding a Forwarding Phone Number to a Virtual Phone Number, Menu Option, or Extension |
|
1. Login to your Talkroute account and navigate to the Manager area. |
|
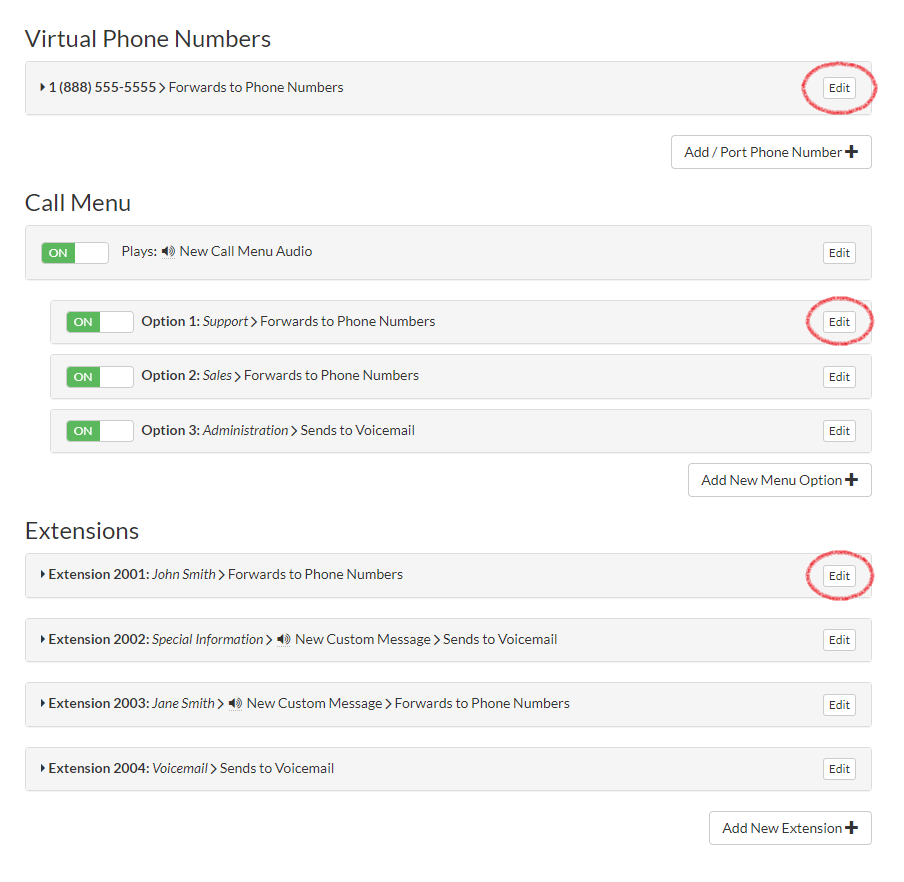
2. Locate the Virtual Phone Number, Call Menu Option, or Extension to which you would like to add the forwarding phone number and select Edit.
|
|
3. Make sure that the setting "Choose where to route incoming calls" is set to "Go to Users & Numbers". |
|
4. You can choose the Ring in Sequence or Ring All configuration under the Forwarding Settings. For this case, you will want to use the Ring in Sequence setting, then select the green "+" icon Note: When choosing Ring in Sequence, this give your agents a chance to answer the calls before forwading to the Answering Service. You will want to drag the answering service to last postion. See this guide for more information: How to Ring Your Phones in Sequential Order. |
|
5. Pick the desired phone number and click the green "+" icon |
|
6. You will see the new number appear under the "Active Numbers & Users" section. Once you are satisfied with the changes, click "Save". |
|
7. Verify the new Forwarding Phone Number(s) have been added. Our pro plan will allow you to add a custom schedule to the forwarding numbers. If you would like to add a custom schedule please see this guide here: How to Add a Custom Schedule to Call Forwarding. |
|
8. Under "Advanced Settings", select the drop-down "What should we display on your Incoming Caller ID?" and choose either one of your Talkroute Phone Number(s) or the Caller's Phone Number to display. In this case you will want to display the caller's phone number then click “Save & Close”. |
Don't have a Talkroute account?Click here to try our virtual phone system for free! |